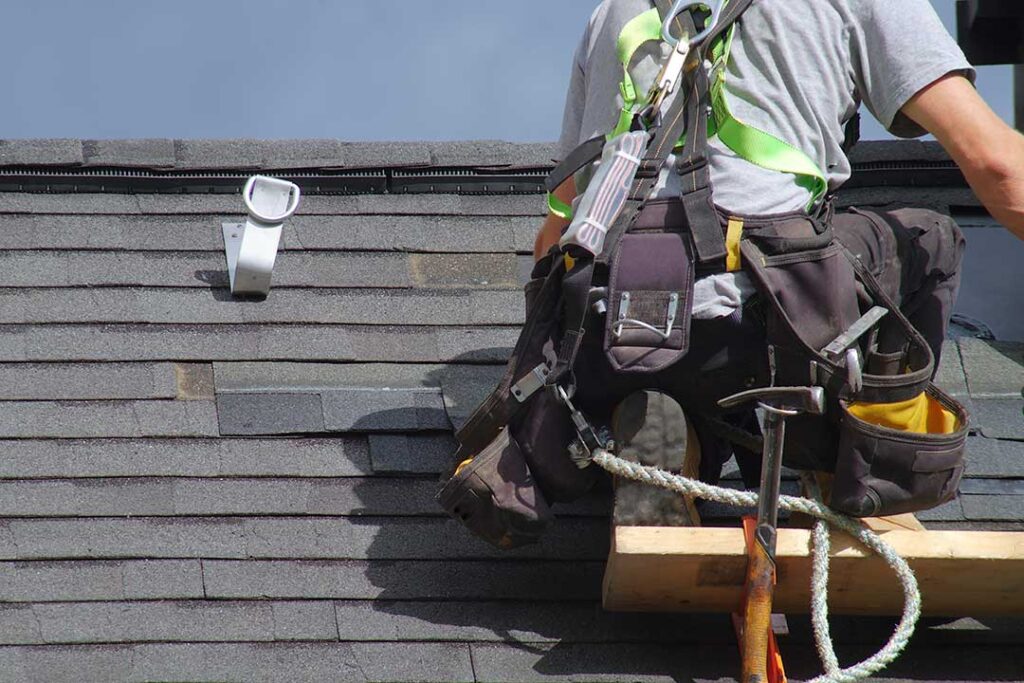
Roofing is a process rather than a single task. It usually includes an initial evaluation, planning, material selection, surface preparation, installation, cleanup, and follow-up inspection. Understanding each stage helps homeowners recognize normal work, ask useful questions, and identify problems before they become more expensive.
What happens during the first roof inspection?
The first inspection determines the roof’s condition, likely repair needs, and whether replacement is necessary. A careful evaluation looks beyond visible shingles.
The inspection may include:
- Shingle condition, including curling, cracking, blistering, or missing sections
- Flashing around chimneys, plumbing vents, skylights, and wall intersections
- Valleys where two roof sections meet
- Gutters, downspouts, and the roof edge
- Attic ventilation, moisture, insulation, and signs of daylight
- Soft areas in the roof deck
- Water stains or damp insulation inside the attic
- Evidence of ice dams, wind damage, or repeated leaks
In Cicero, NY, roof inspections often need to account for winter conditions. Snow, ice, freeze-thaw cycles, and wind can expose weaknesses that may not be obvious during warmer months. A roof can look acceptable from the ground while still having damaged flashing or moisture-related deterioration underneath.
An inspection should distinguish between a localized repair and a roof system that is nearing the end of its service life. Replacing a few shingles may address the symptom, but it will not solve widespread deck damage, poor ventilation, or aging underlayment.
How is a roofing project planned?
Planning involves more than choosing a shingle color. The roof’s slope, existing materials, structural condition, ventilation, drainage, and local weather exposure all affect the work.
A project plan generally identifies:
- Whether the existing roofing will be repaired or removed
- How many layers are present
- Whether the roof deck needs replacement in damaged areas
- Which underlayment and flashing details are needed
- How ventilation will be handled
- How debris, deliveries, and weather interruptions will be managed
- Whether permits or inspections apply to the work
Homes in the area may have different roof designs, including simple gable roofs, more complicated roofs with several valleys, and additions built at different times. Older additions can create drainage or flashing details that require special attention.
Weather timing also matters. Roofing materials perform best when installed under suitable conditions. Cold temperatures can affect the flexibility and sealing of some materials, while rain or high winds can delay work or expose an unfinished roof to water.
What does roof removal involve?
If replacement is needed, the old roofing is usually removed in stages so the underlying structure can be examined. Removal may reveal damaged plywood, deteriorated boards, wet insulation, failed flashing, or multiple old roofing layers.
This step is important because installing new materials over hidden damage can shorten the life of the finished roof. A sound roof deck provides the stable, dry surface needed for underlayment and shingles.
Removal also requires attention to surrounding property. Falling debris can affect gardens, siding, windows, driveways, and outdoor equipment. Temporary protection and organized cleanup help reduce the risk of damage.
Not every project requires complete removal. In some situations, an additional roofing layer may be allowed, but that depends on existing layers, material condition, roof design, and applicable building requirements. Adding new materials over an unsuitable surface can conceal problems and make future repairs more difficult.
Why are underlayment and flashing so important?
Shingles are only one part of a roof system. Underlayment provides a secondary water-resistant layer beneath the exposed roofing, while flashing directs water away from vulnerable joints and openings.
Flashing is commonly installed around:
- Chimneys
- Plumbing vents
- Skylights
- Sidewalls and vertical roof intersections
- Valleys
- Roof edges
- Areas where additions connect to the main structure
Many leaks blamed on shingles actually begin at flashing, valleys, or penetrations. Ice and snow can make these areas especially vulnerable because water may back up behind ice dams or move beneath surface materials during repeated freezing and thawing.
A properly planned roof also includes edge protection and appropriate ventilation. Ventilation helps manage heat and moisture in the attic, although it cannot correct every moisture problem by itself. Air leaks from the living space, insufficient insulation, and blocked vents may also contribute to condensation.
How are shingles and other roof coverings installed?
Installation usually begins at the lower edge of the roof and progresses upward, with each course overlapping the one below it. The exact method depends on the roofing material and roof design.
Good installation requires attention to:
- Proper fastening
- Straight, consistent courses
- Correct treatment of valleys
- Adequate sealing at exposed edges
- Proper flashing integration
- Correct placement of vents and penetrations
- Compatibility between materials

A roof may appear attractive from the ground while still having installation problems that only become visible during heavy rain or winter weather. Nails placed too high, poorly sealed penetrations, or incorrectly installed valley materials can allow water to enter even when the shingles look new.
Roofing materials should also match the roof’s slope and design. Some coverings are not suitable for low-slope sections, and complex roof shapes may require more detailed water-shedding methods than a straightforward roof plane.
What happens during cleanup and final inspection?
Cleanup is part of the roofing process, not an optional extra. Roofing work can produce loose nails, shingle fragments, underlayment scraps, packaging, and damaged materials.
A thorough final review should check:
- Roof surfaces and ridgelines
- Flashing and vent areas
- Gutters and downspouts
- Ground-level debris
- Driveways, walkways, landscaping, and exterior structures
- Attic areas for signs of moisture or exposed openings
Magnetic tools can help collect metal fasteners from paved and lawn areas, but homeowners should still inspect frequently used outdoor spaces. Children and pets may find small debris that is easy for adults to overlook.
The final inspection should also confirm that roof vents are open, gutters are clear, and all temporary coverings have been removed. Photographs of concealed work, such as repaired decking or newly installed flashing, can be useful for future maintenance records.
How should a new or repaired roof be maintained?
A roof still needs periodic attention after the project is complete. Maintenance does not mean walking on the roof regularly. Ground-level observations and occasional attic checks are safer and often provide useful information.
Look for:
- Missing or displaced shingles after high winds
- Granules collecting in gutters
- Sagging areas
- Damp insulation or new attic stains
- Blocked gutters and downspouts
- Damaged pipe boots or exposed flashing
- Moss or organic buildup that holds moisture
After major snowfall, avoid climbing onto the roof to remove snow unless the work can be done safely with appropriate equipment. Roof edges, ladders, and icy surfaces create serious fall hazards. Heavy snow loads, unusual sagging, or active leaks require prompt attention because structural and water damage can worsen quickly.
A roofing project is successful when the visible covering, drainage details, underlayment, flashing, ventilation, and supporting deck work together. For local households, understanding that complete system makes it easier to interpret inspection findings and recognize why a durable roof involves more than installing new shingles.